For years, CIPP practices have been used globally for structural repair of broken and damaged pipe. Today the options for this type of repair have grown, with new pipe patching systems on the market that simplify the process and reduce the time needed to repair small sections of pipe.
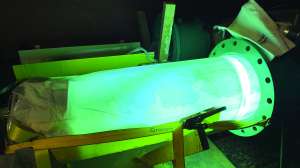
Fully cured fiberglass pipe patches surpass ASTM F1216 requirements and have a life-expectancy range of up to 50 years, making them an ideal solution when only a small section of pipe needs to be repaired, there are too many bends for full-length lining to navigate, or budget constraints make excavation or full-length lining too costly.
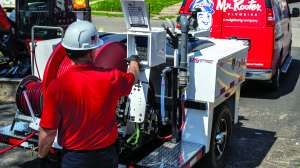
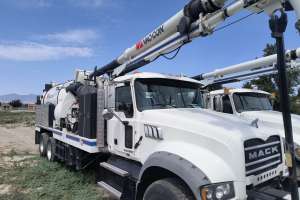
Pipe patching equipment fits easily in a truck, allowing jobs to be done on the spot without the need to schedule a later date to perform a full reline. This benefits both the customer and the contractor. Another benefit: On average, a company can charge $3,000 to $5,000 for a single patch, providing good return on investment and a more affordable price for a homeowner than a full reline.
As you consider adding pipe patching to your business, here are some things to keep in mind:
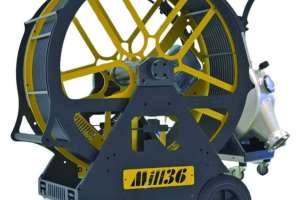
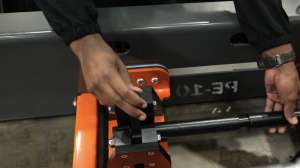
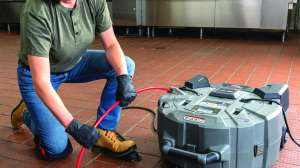
- For most patches, the main equipment you will need are a packer, air hose, compressor, liner and resins. Depending on the system, you may also need an air regulator, elastic bands, tape, table coverings and more. It can be difficult to manage all these pieces so some companies will sell complete starter systems and all-inclusive patch kits so that you have everything you need to start the job.
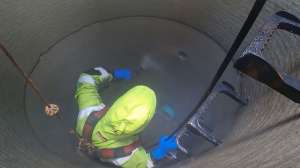
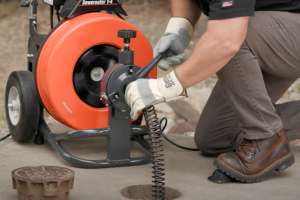
- Additional tools and supplies can be helpful for a successful patch. You should always use a camera in tandem with pipe patching to confirm location of the patch and transfer measurements. You may also need a high-speed cleaner with chains or brushes to remove debris, scale, or roots from the patch location. Lastly, a tent can help keep your workspace clean if working in the rain and an infrared thermometer helps confirm the pipe and materials are at the right working temperature if working in cold conditions.
- Take your time and follow the process. There are great training resources available to you in terms of live demos, training videos, and step-by-step checklists to ensure you know what you are doing. Mistakes happen when people rush or skip steps.
- You should always perform a “dry run” with the equipment before any resin is involved. This means prepping the packer and confirming you can get it to the patch location before wetting out the packer. This may seem trivial, but you never want to find yourself unable to push through a bend when the resin is beginning to set.
- Get a camera on the patch before you inflate to make sure nothing shifted while moving the packer through the line.
- Lastly, remember that slow is fast, and fast is slow. Pipe patching is not difficult, but you still have to take your time and double check your work when going through the process.
Combining these tips with the specific pipe patching steps for the system you purchase will go a long way in establishing a new, incremental revenue stream that complements existing drain cleaning, sewer inspection and full-pipe relining services.

About the Author
Alex Meyer is a product manager for RIDGID, a part of Emerson’s professional tools portfolio that also includes the Greenlee brand. RIDGID is a global manufacturer of more than 300 dependable and innovative tools, trusted by professional trades in over 100 countries. Learn more at RIDGID.com.
Continue reading for free